OpenEdge Installation Windows
- Rajesh S Nair

- May 15, 2018
- 2 min read
Prerequisites:
DBA to make sure Java already installed and we have progress Setup downloaded in the server with serial number and control numbers, and appropriate approval for Progress Installation in the Server. A Pentium PC (or compatible computer) with these characteristics: *Clock speed — A minimum of 1GHz *Memory — A minimum of 1GB Sufficient disk space to hold the OpenEdge products you want to install. Sufficient disk space on the drive where Windows is installed for Windows system files that OpenEdge copies there. Depending on which Windows system files are already installed on your system, OpenEdge can install up to 50MB in your Windows directory. Your system must support the TCP/IP and UDP protocols To use WebSpeed®, you must have a Web browser. Most contemporary browsers such as Mozilla, Opera, or Microsoft Internet Explorer, will work with WebSpeed.To run WebSpeed Workshop, Progress Software Corporation recommends you use Microsoft Internet Explorer, Version 6. The version of Internet Explorer you are using must support JScript Version 2.0. Detailed Steps 1. Download the installables to the windows server and double click on “setup.exe” icon. 2. A window will appear click on next

3. Provide the serial number and control number of each openedge product from liscence detail file available with the installables while downloading.

4. Click on accept after providing each product’s serial number and control numbers.After accepting all the required products click on next

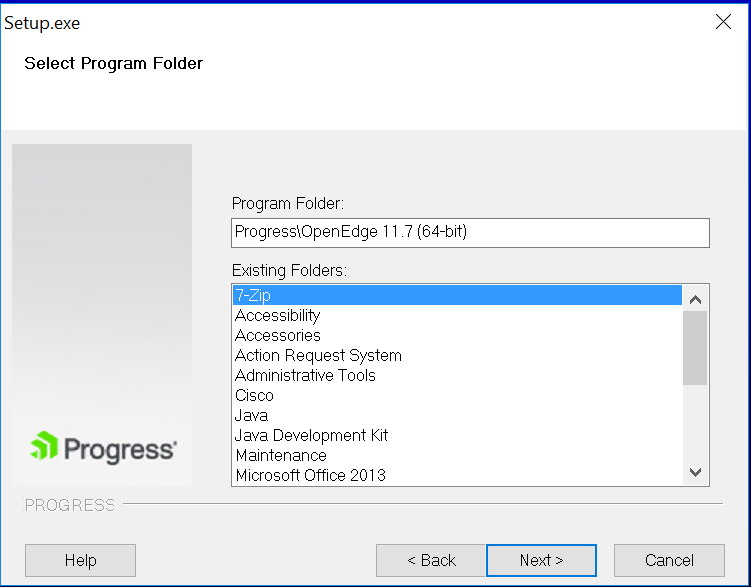
5. Change installation path if required and click on next

6. Change OE management path if required and click on next

7. Choose complete installation as option and click next

8. Configure installation if required and click next

9. Select next again

10. Change sonic ESB default configurations if required and click next

11. Select web server type as cgi compatible and provide web server script directory and web server document root directory

12. Select language choice as English American

13. Provide character set,date format and number format(keep as defaults)

14. Edit web server URL if required and click next

15. Provide authorization for admin server if required and click next

16. Recheck the installation details in the summary screen for final time and click next

17. Click on finish to end installation

Post Activity Steps
As per post validation steps , DBA need check if all the products are installed .For that follow the below steps:
1. Go to start -> Progress -> Proenv
2. Type showcfg on the proenv prompt
3. Check in the pop up window if all the products are installed

Also check if fathom is up and running after installation , for that follow the below steps:
1. Go to start -> Progress -> Management Console or search Management Console in start menu
2. Login to fathom using default user/password – admin/admin
3. Change password and set a new password for management console.
4. After initial configurations, verify if the URL is up and all options are working fine


Comments